How to Modify CRM & Targeted Marketing Campaign Images
 This article explains how to modify the images in CRM and targeted marketing modules.
STEP-BY-STEP FOR THE CLOUD-BASED VERSION OF THE APPLICATION
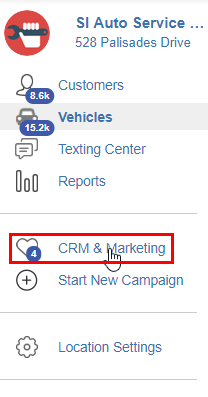
Left click CRM & Marketing.
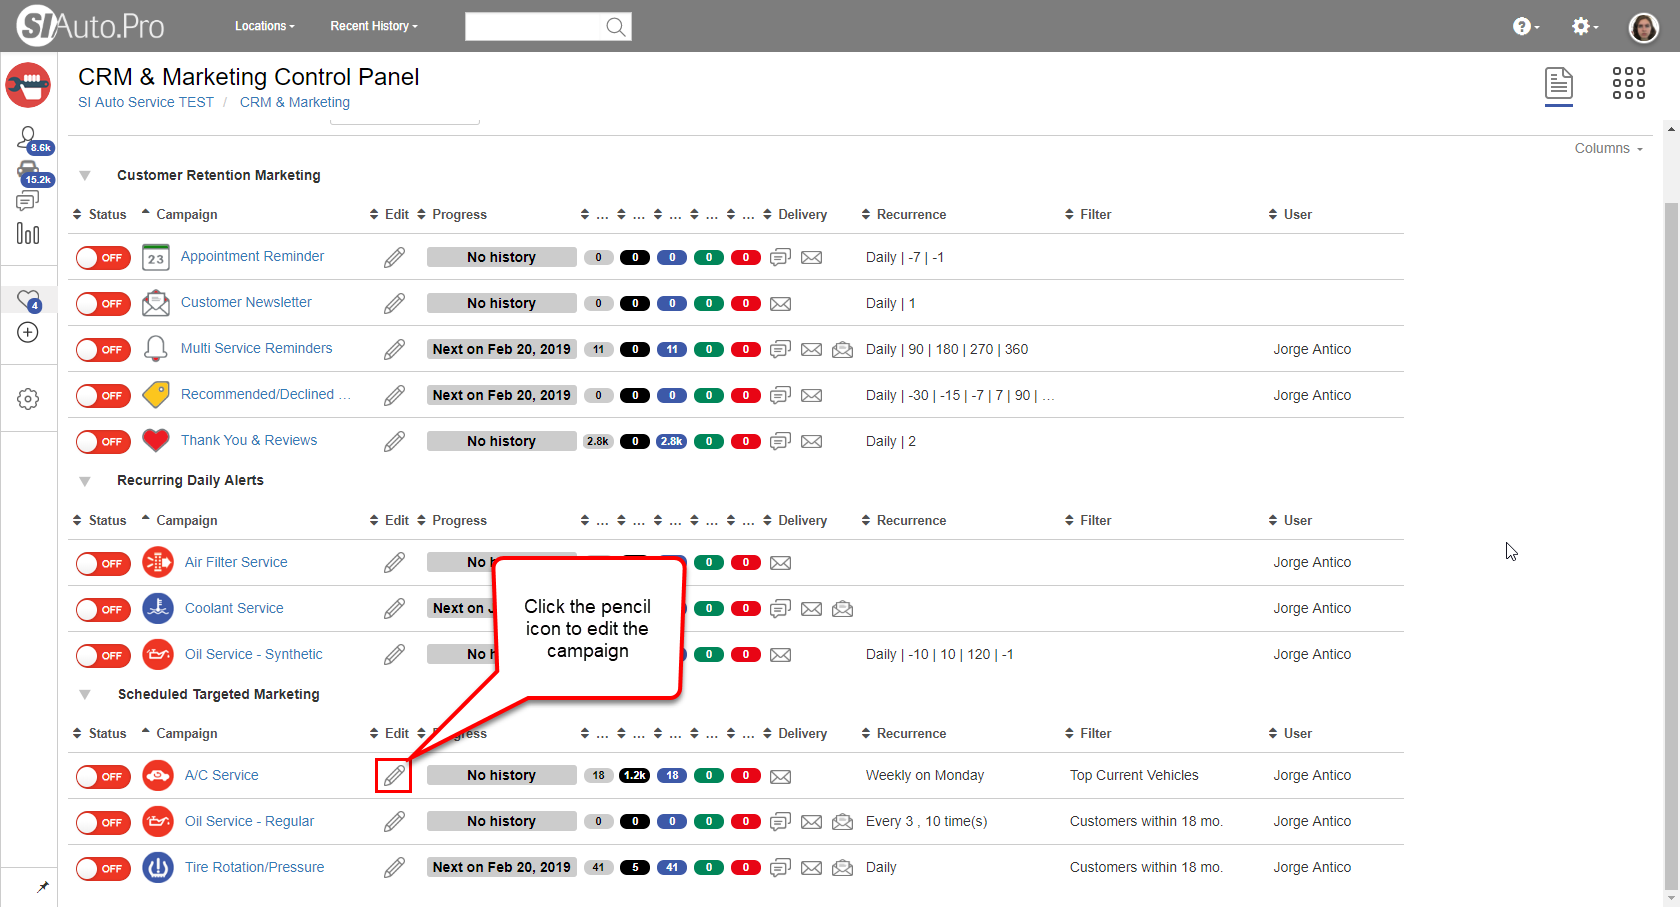
Click the pencil icon of the campaign you want to modify images for.
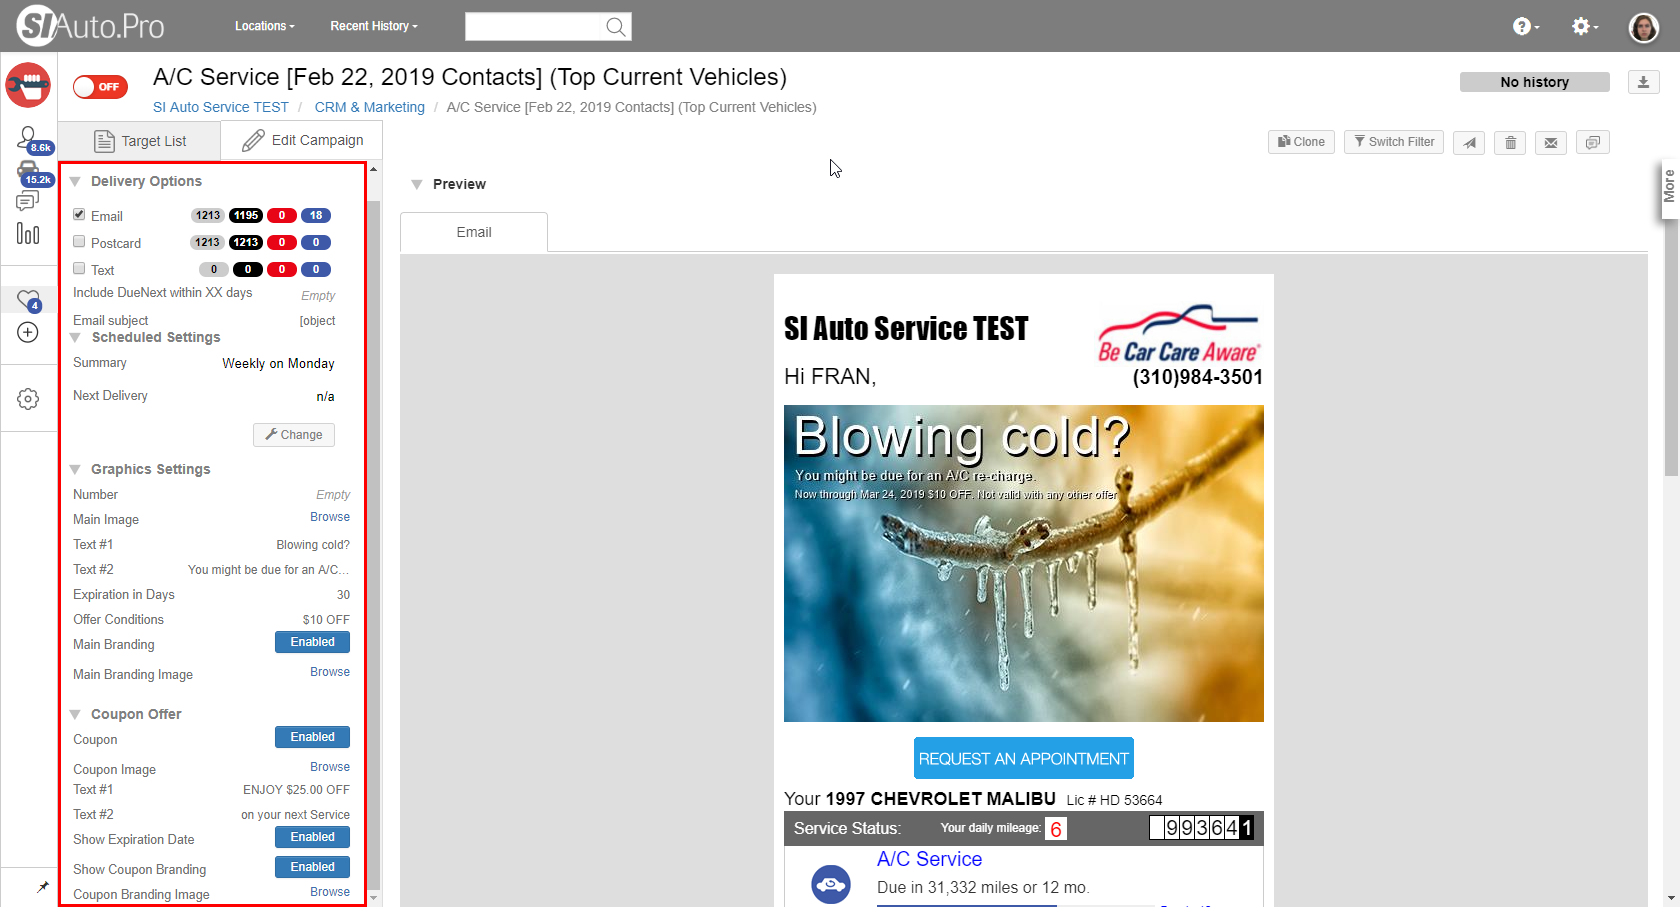
In the Edit Campaign tab you will see different settings you can edit.
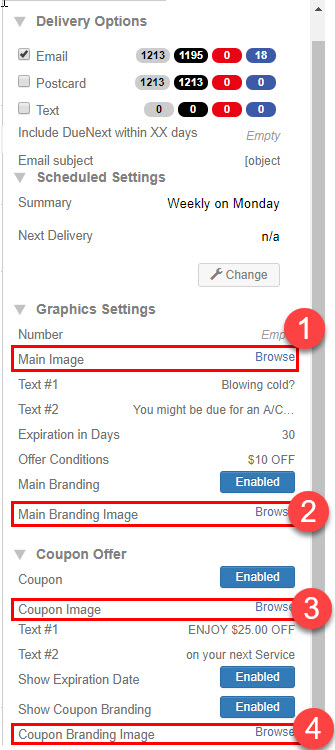
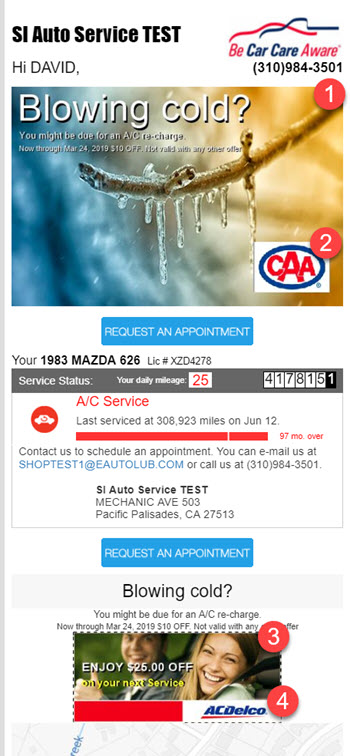
The settings that let you change images are Main Image, Main Branding Image, Coupon Image, and Coupon Branding Image. The number bubbles show which button corresponds to which image. Main Image lets you edit the first image, Main Branding Image lets you edit the second image, Coupon Image lets you edit the third image, and Coupon Branding Image lets you edit the fourth image. For each of these, click Browse to pick a new image.
Click the pencil icon of the campaign you want to modify images for.
In the Edit Campaign tab you will see different settings you can edit.
The settings that let you change images are Main Image, Main Branding Image, Coupon Image, and Coupon Branding Image. The number bubbles show which button corresponds to which image. Main Image lets you edit the first image, Main Branding Image lets you edit the second image, Coupon Image lets you edit the third image, and Coupon Branding Image lets you edit the fourth image. For each of these, click Browse to pick a new image.
STEP-BY-STEP FOR THE DESKTOP VERSION OF THE APPLICATION
Left click the Targeted Marketing Promotions tab.
Select the campaign you want to edit from the Select Targeted Service drop-down menu.
At the top you will see two icons, one called Graphic and the other called Branding. They will both open the same window, but with a key difference: in Branding the Change Branding checkbox will be checked, while in Graphic it will not. Graphic will allow you to change the main image and Branding will allow you to change the branding put on top of it.
Under Image To Modify you have the options Main, Coupon, and Company Logo. It always automatically has Main checked. When you want to edit the image and branding of the coupon, you must click Coupon so that you are actually editing the coupon's image and branding. Note: make sure Leave Blank is unchecked.
Click Browse to choose what you want the main image to be.
Once you have made your selection, click OK to apply the change.
Now you can edit the branding of the main image/coupon. When you click the Branding icon it will open the dialogue box again, and if you look carefully you will see the Leave Blank checkbox is checked. This will ensure that these images do not have branding on them. Since you want to add branding, uncheck that box.
Now you can click the Browse button and select which branding image you want to put on top of the main image/coupon. Once you did this, click OK to apply.
Need more help?
You can always ask an expert at the eAutoclub.com Support Desk, give us a call on out support number (310) 984-3501 xt 4, or suggest a new feature or improvement by emailing us at support@eAutoclub.com.
Related Articles
How to Modify a Targeted Marketing Promotion Campaign's Text Element
This article explains how to modify the text of a targeted marketing promotion campaign. STEP-BY-STEP FOR THE CLOUD-BASED APPLICATION Left click CRM & Marketing in column 1. Click the targeted marketing campaign you want to edit from the list in CRM ...How to Add or Modify a Targeted Marketing Campaign's Filter
This article explains how to add or modify filters for any marketing campaigns for Service Intel. It's important to note that while this tutorial specifically edits the Thank You emails, you can use these steps to modify any of the marketing in SI. ...How to Create a New Targeted Marketing Promotion Campaign
This article covers how to create a new targeted marketing campaign in Service Intelligence. STEP-BY-STEP FOR THE CLOUD-BASED VERSION OF THE APPLICATION Left click Start New Campaign from column 1. You will see Marketing Campaign Gallery on the main ...How to Preview a Targeted Marketing Campaign
This article explains how to see the preview of a targeted marketing campaign for email, postcard, and text message. STEP-BY-STEP FOR THE CLOUD-BASED APPLICATION Left click CRM & Marketing from column 1. Click the name of the campaign whose previews ...How to Delete a Targeted Marketing Promotion Campaign
This article explains how to delete any marketing campaign for Service Intel. It's important to note that while this tutorial specifically deletes the Thank You email campaign, you can use these steps to delete any of the campaigns in SI. Navigate ...